

Learn how to install the Fluence Add-in and what you need before installation.
If you encounter any issues with the Fluence Add-in, refer to the Fluence Add-in Troubleshooting guide.
System requirements
Before installing, the add-in requires:
| Component | Recommended | Minimum |
| Microsoft Windows Operating System (O/S) | Windows 10 (64-bit) Windows 11 | Windows 10 |
| Microsoft Office | Office 365 (64-bit), Desktop Client | Office 2021 |
| Browser | Microsoft Edge or | Microsoft Edge Chrome |
| RAM | 16 GB* (32G for Power Users) | 8GB |
| CPU | 2+ Cores* | See recommended requirements |
Note: CPU and memory recommendations are provided as high-level guidance only. Performance may be affected by other programs running on the operating system and by network limits, such as bandwidth and speed.
Prerequisites
Before installing the Fluence Add-in, ensure that https://*.fluence.app is added to your Trusted Sites.
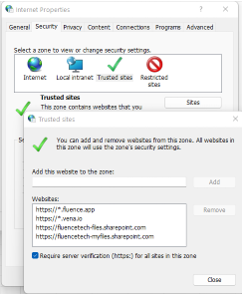
To modify Trusted Sites, refer to the Fluence Add-in Troubleshooting guide.
- Ensure that all Excel windows and workbooks are closed.
- Use Microsoft Edge to perform the Fluence Add-In Install.
- After installation, use Fluence with either Chrome or Edge.
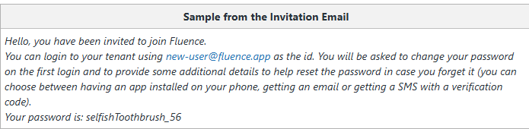
- Read the invitation Email from Fluence providing your Fluence ID, temporary Password, and install link.
Uninstall Fluence Add-in
If you previously installed the Fluence Add-in, uninstall it by:
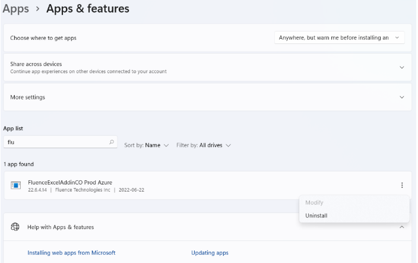
- In the Windows search bar, type Add or Remove Programs.
- Then select Add or Remove Programs.
- Search for Fluence, select Uninstall, and follow all the steps to complete the uninstall.
Install Fluence Add-in
- From your invitation email, right-click the add-in URL and choose Copy.
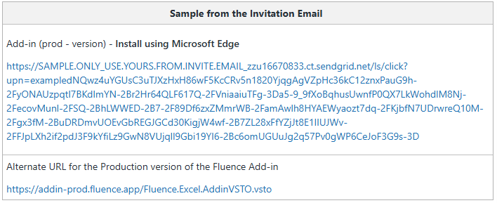
Note: The Fluence Add-In is a Microsoft Click-Once based install and may result in errors if Chrome is used instead of Microsoft Edge.
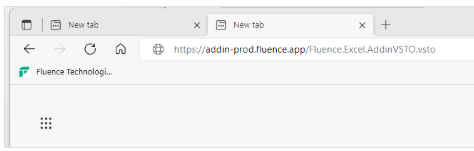
2. Paste the URL into the Microsoft Edge address bar, then press Enter to start the install.
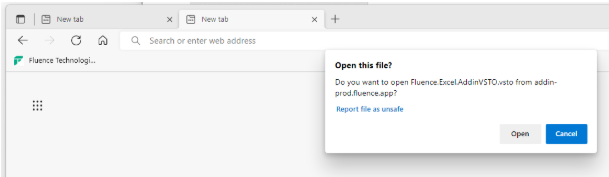
3. Run the Fluence Add-In install by selecting Open.
4. Select Close.
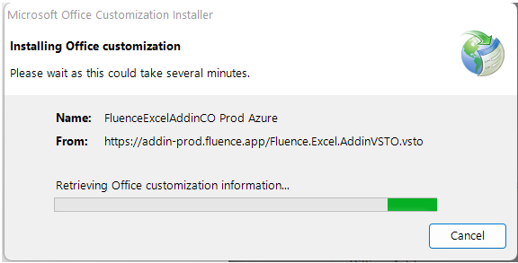
5. Select Install.
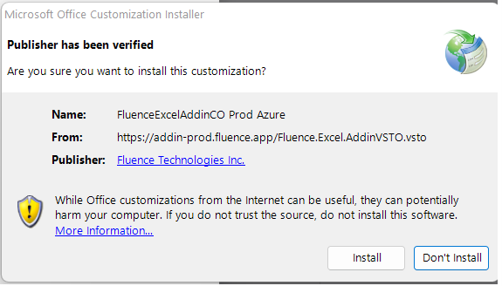
The Fluence Add-in installs.
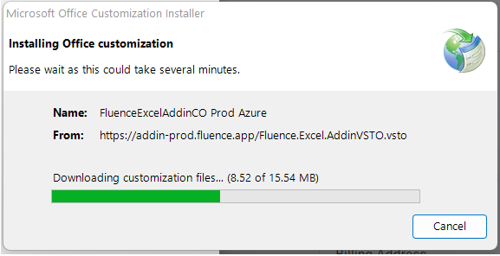
6. Select Close to complete the install.
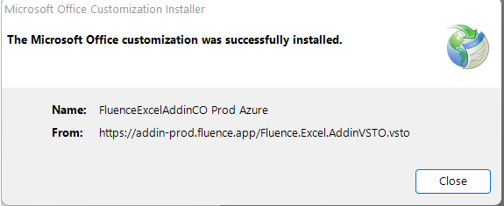
You have successfully installed the Fluence Add-in.
Run and connect the Fluence Add-in
To run the Fluence Add-in, open Excel. Select Fluence Prod on the menu bar.
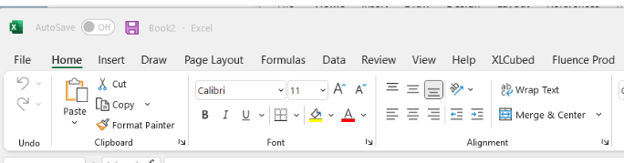
If the Fluence Add-in doesn't show up in the Excel menu bar, refer to the Fluence Add-in Troubleshooting guide on how to turn on macros in Excel.
Connect to Fluence for the first time
Connecting to Fluence for the first time requires your new fluence.app ID and temporary password.
- From the menu bar, select Fluence Prod.
- Select Connect.
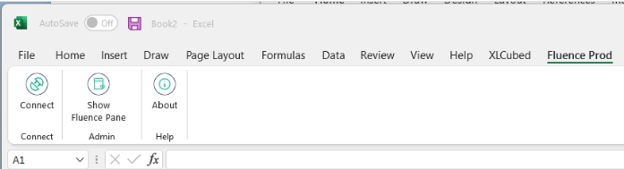
3. In the Sign in to your account window, select Use another account.
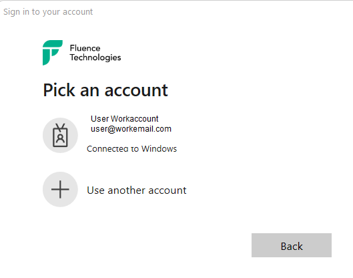
4. Enter your new fluence.app ID from the Invitation email referenced in the Prerequisites above.
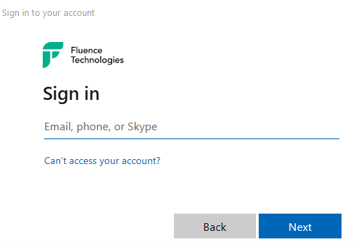
5. Select Next and enter your temporary password from the Invitation email.
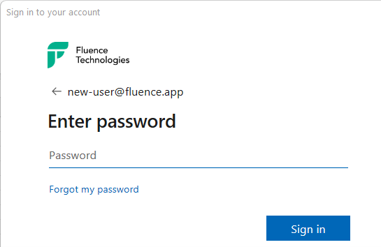
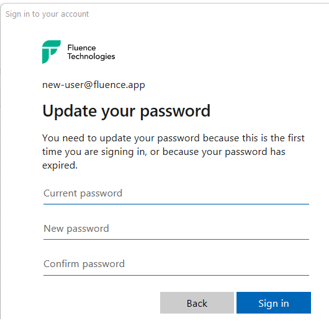
You must change your temporary password at your first sign-in.
6. Enter your temporary password, enter a new password, confirm your new password, and select Sign in.
7. To set up multi-factor authentication, which is needed if you ever need to reset your password, select More information, then select Next.
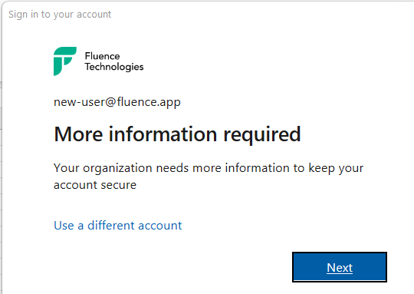
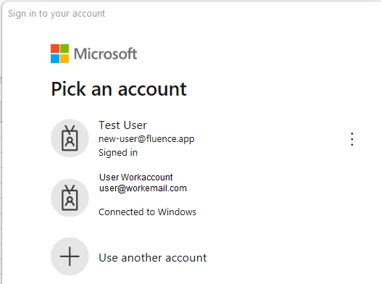
8. Select your fluence.app ID. Be sure not to select your work ID.
9. Select Next to set up an Authenticator app such as Google Authenticator or Microsoft Authenticator.
10. To set up Email or Text, select I want to set up a different method.
Note: Recommend selecting I want to set up a different method to use email or text. Selecting Skip setup disables the ability to self-reset your password.
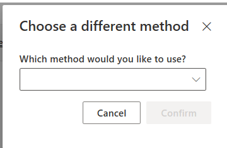
11. In the Choose a different method window, select the dropdown, choose either Phone or Email, and then select Confirm.
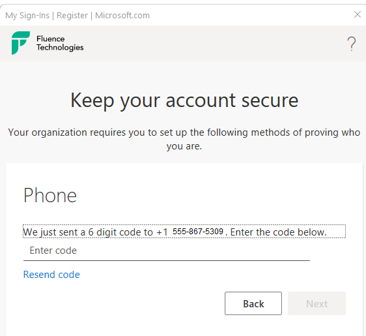
12. Select your region from the dropdown, enter your telephone number, and select Next.
Selecting the Email method requires you to enter a valid email address. Use your work email.
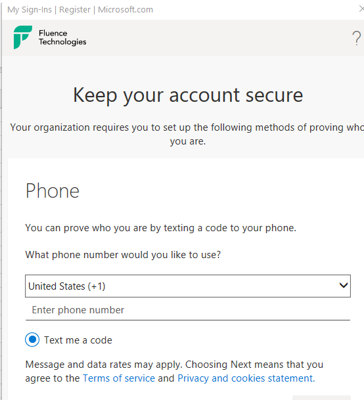
13. Verify the code received by Phone (Text) or by Email and select Next.
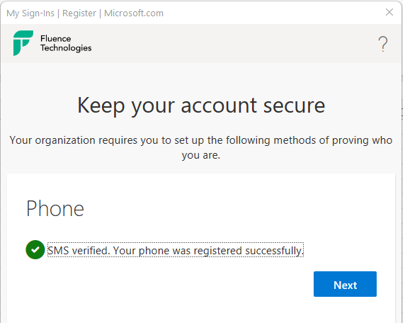
14. After you verify the multifactor authentication method, select Next and then Done.
The Fluence Add-in ribbon menu displays Connected and a Sign Out option.

