Add a Variance or Variance % column to a table card to display calculations that provide insights, directly in a report page.
Prerequisites
To add a Variance or Variance % column to your report, it must contain a table card with numerical data that can be the subject of calculations.
Add a Variance or Variance % column to your table card
- On your card, select Edit to enter designer mode.
- In Card configuration, select the Grid tab.
- On your card, select the column header immediately to the left or right of where you wish to add the variance column, then do one of the following:
- In the Calculations sub-section of the tab, select the Insert dropdown to display the available options, then:
- Select Variance or Variance %, depending on the type of variance you want to display in your table.
- Once selected, the option expands to display Column left and Column right. Select the option based on the position you wish to display the new column, relative to the selected column header.
A sub-pane displays, with the corresponding Variance or Variance % configuration options.
- In the top-left corner of the Report Designer, select Insert, and the type of variance analysis - Variance or Variance %, followed by the positioning Column left or Column right, relative to the selected column heading.
Either option will open the variance configuration options in the right-hand configuration panel.
- In the Calculations sub-section of the tab, select the Insert dropdown to display the available options, then:
Configure a Variance or Variance % column
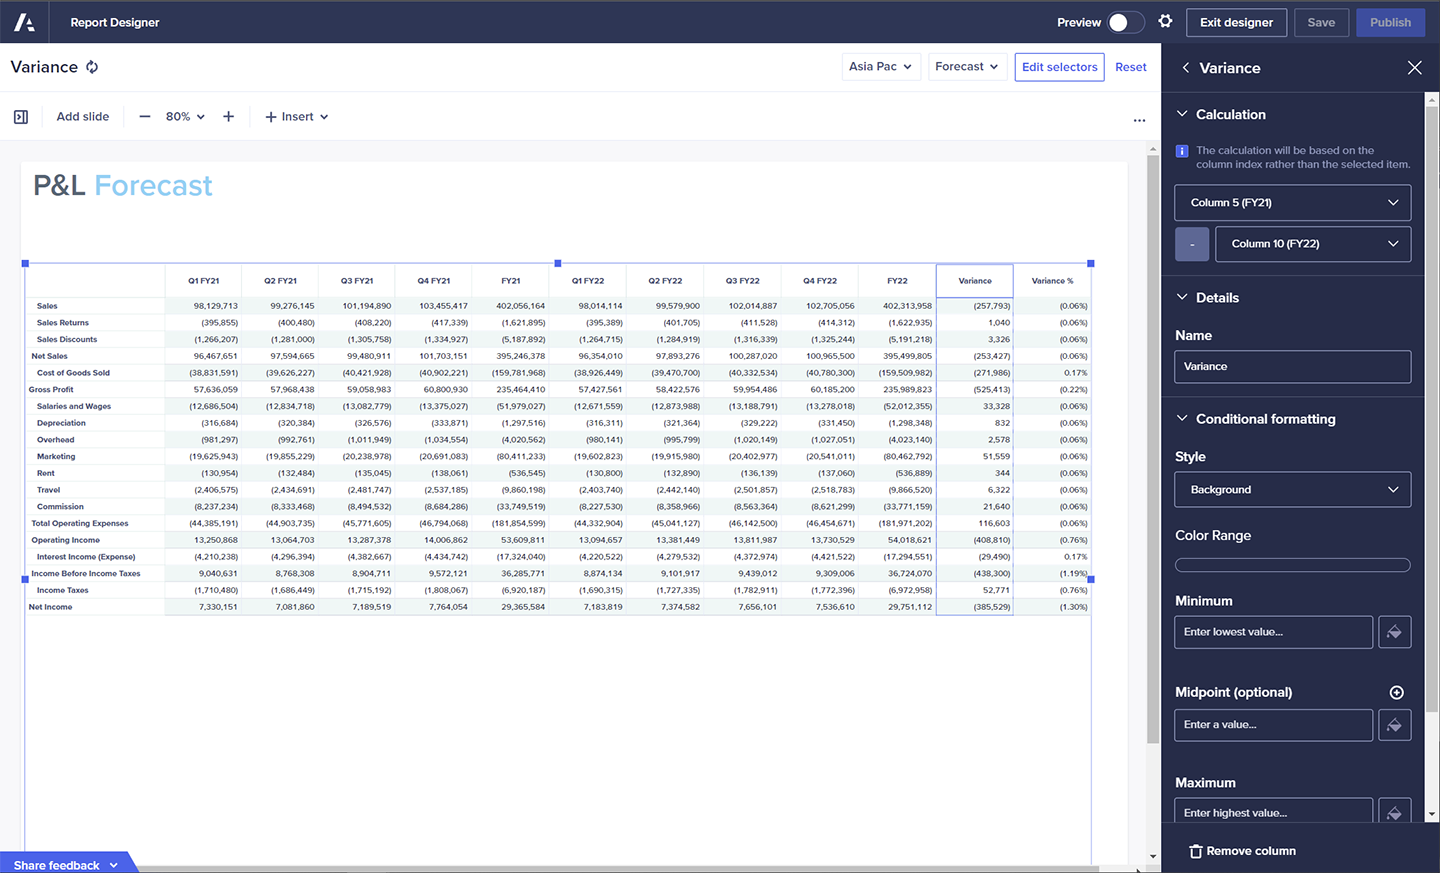
- Under Calculation, select the dropdowns to pick the columns you are comparing against each other. Generally, the first column refers to the older of two sets of data, or to the forecast outcome, while the second column will refer to more recent data, or the actual outcome.
- For a Variance calculation, the formula resolves as
Column A - Column B - For a Variance % calculation, the formula resolves as
(Column A - Column B)/Column B.
If you do not configure the variance calculation, a warning displays in the Calculations section of the Grid tab. You can still save the table card and publish it.
- For a Variance calculation, the formula resolves as
Note: The variance calculations are locked to the selected column number. Keep in mind that changes to the view will directly impact the calculation.
- Under Details, you can enter a name for your variance calculation. This dynamic label has the following behavior:
- if left blank, the name of a calculation is the combination of the headers of the two columns selected for the calculation.
- if text is entered in the Details field, the input will become the header to the variance column, as well as the name of the calculation which displays in the Grid tab.
- Optionally, under Conditional formatting you can:
- Define a Style for the cell formatting. Select the formatting style to apply to your conditional formatting:
- Background fills the background of each formatted cell with a solid color.
- Border adds a colored border to each formatted cell.
- Font changes the font color of the line item. It overrides any UX changes, grid formatting changes, and any theme-based colors.
- Morse adds a colored dot or dash to the left of the cell's value. The size of the dot or dash depends on the cell value.
The Color Range bar displays a sample gradient of your current selection. As you select values and colors below, the gradient bar changes to match your selections.
- Set a color range for minimum and maximum values. You can set optional midpoints, also. This displays as a gradient bar under the Color Range section heading.
- Configure the Variance formatting.
- Set a background for the column, or a font color, using the color pickers.
- Add emphasis to the font, by selecting bold, italic or underline options.
- Align the content of the calculation column.
- Set a number format, a number scale, and the number of decimal places for the calculation values.
- Define the decimal separator and the thousands separator for the values.
- Define a Style for the cell formatting. Select the formatting style to apply to your conditional formatting:
- Once your configurations are complete, select to return to Card configuration.
- Save or Publish your changes.
Note: The Calculations section of the Grid tab lists all existing variance calculations on the table card. The display name of the calculation will be either the default name (the names of the columns being analyzed) or the name defined in the variance Details section.
To change the configuration of one specific calculation, you only need to select the one you want to change.

