

This task stops the current workflow process immediately. If the Abort task is in a subprocess, only that subprocess will abort its processes. These tasks can be used in automated (non-interactive) processes to stop the workflow in specific situations.
If the workflow is to be initiated again, the Administrator is required to stop and restart the workflow.
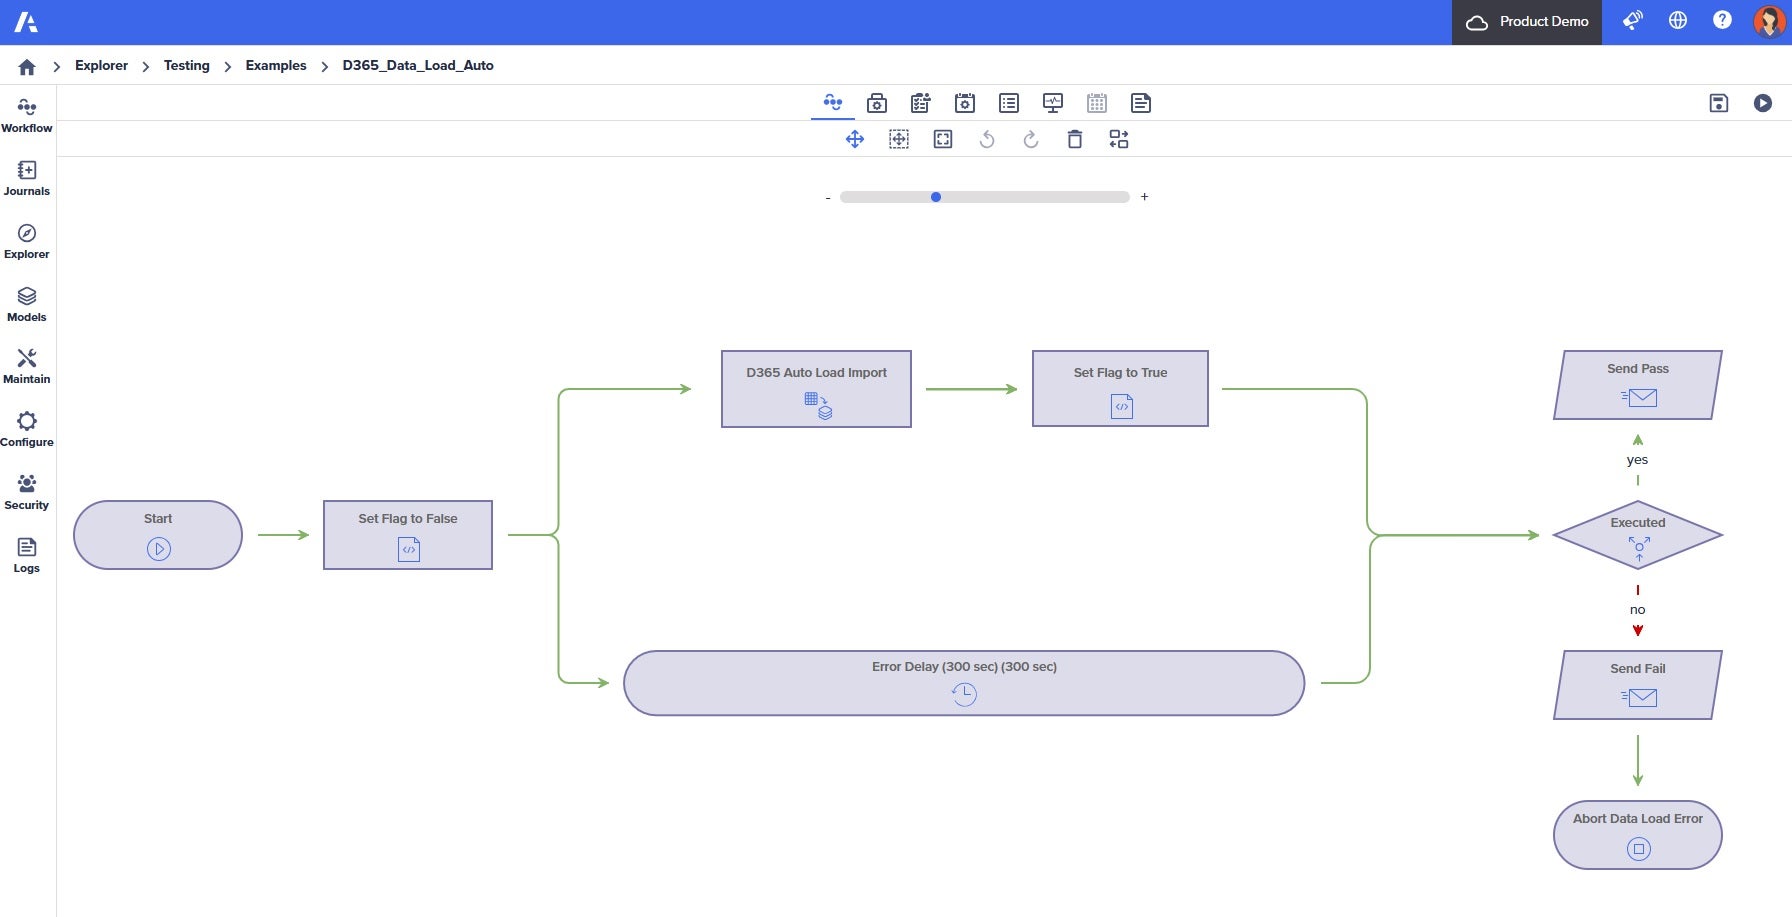
In this example, the Abort task is used to end the workflow if the D365 Auto-Load Import Data Transfer task fails.
Configuration Pane parameters
The key parameters include:
| Parameter | Description |
| Name | Enter the name that appears on the task. |
| Reason | Enter the text to describe why workflow was aborted. |
| Advance Rule | Specify how to advance to the task. The default is All predecessors have completed. |
Configure an Abort task
To configure an Abort task:
- Drag the Abort task onto the Workflow Editor canvas to add it.
Find the Abort task in the Workflow Controls section of the Workflow toolbox. - Select the Abort task and select the Edit icon to edit the parameters in the Task Configuration pane.
- Fill in the required parameters.
- Select OK to apply changes in the Task Configuration pane.
- Select Save to save the workflow.
- Select Play in the Workflow Editor toolbar to start the workflow.
The workflow process starts.
When the workflow process is executed, the workflow will pause for the specified period of time when it reaches the Delay task.

