The last part of the forecast model build is to configure the results.
To configure results:
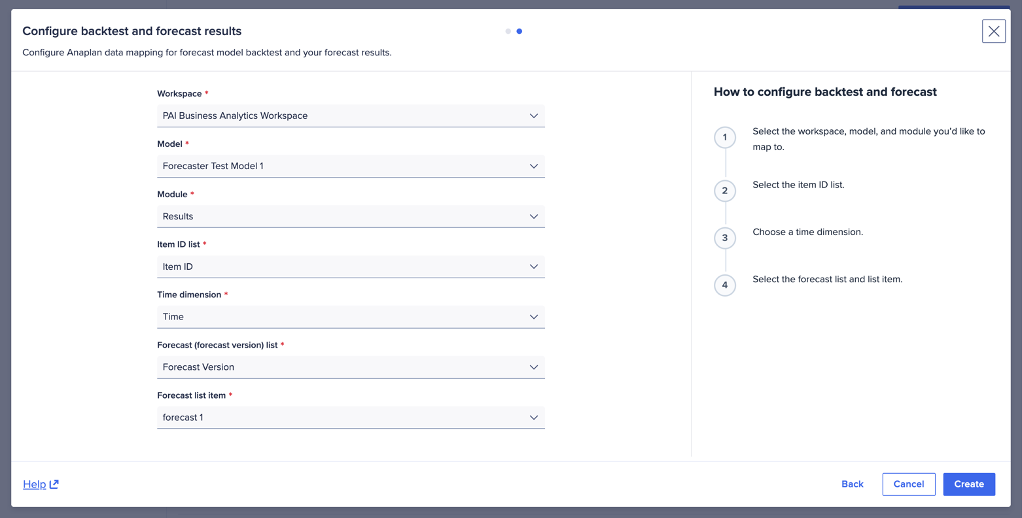
- Map these:
- Workspace
- Model
- Module
- Item ID list
- Time dimension
- Forecast (forecast version) list
- Forecast list item
- Select Create forecast model.
You can check the status on the Forecast models page.
Example configuration: backtest and forecast results.
APIs write the backtest and forecast results into the Anaplan forecast results module, based on this mapping. To generate the forward-looking forecast results, go to Step 4: Forecast Action.
Optionally, you can evaluate the forecast model before you create and run a forecast action. To evaluate:
- Assess metrics in the inspector panel tab.
- Examine backtest data and compare the forecast against the actuals.
Tip: Review the insights generated for the Data Collection before proceeding.

