Select items to show that present the most relevant data to users of a worksheet.
Conversely, you can choose not to show certain data so users can't see it.
You can also restrict user-access to a page to prevent them from being able to access it.
Users can't choose to show items for a row or column if you:
- Select to not show the items
- Apply a hierarchy filter to it
- Filter out the item.
On a nested axis the user sees the items as available for selection in the Show / Hide panel, but they do not display on the worksheet. A warning displays to explain this if applicable.
To show rows or columns, you'll need to:
- Expand your card to full screen on a worksheet.
- Maximize your card on a board.
You must open your page in designer mode. Select Edit .
Show items on a worksheet
To select items to show on a worksheet:
- Select Configure on a new card, or hover over your card and select Edit .
Read how to add a card to a worksheet. - On the Overview tab of the Card configuration panel, select View, then choose a custom view from the Select data source panel.
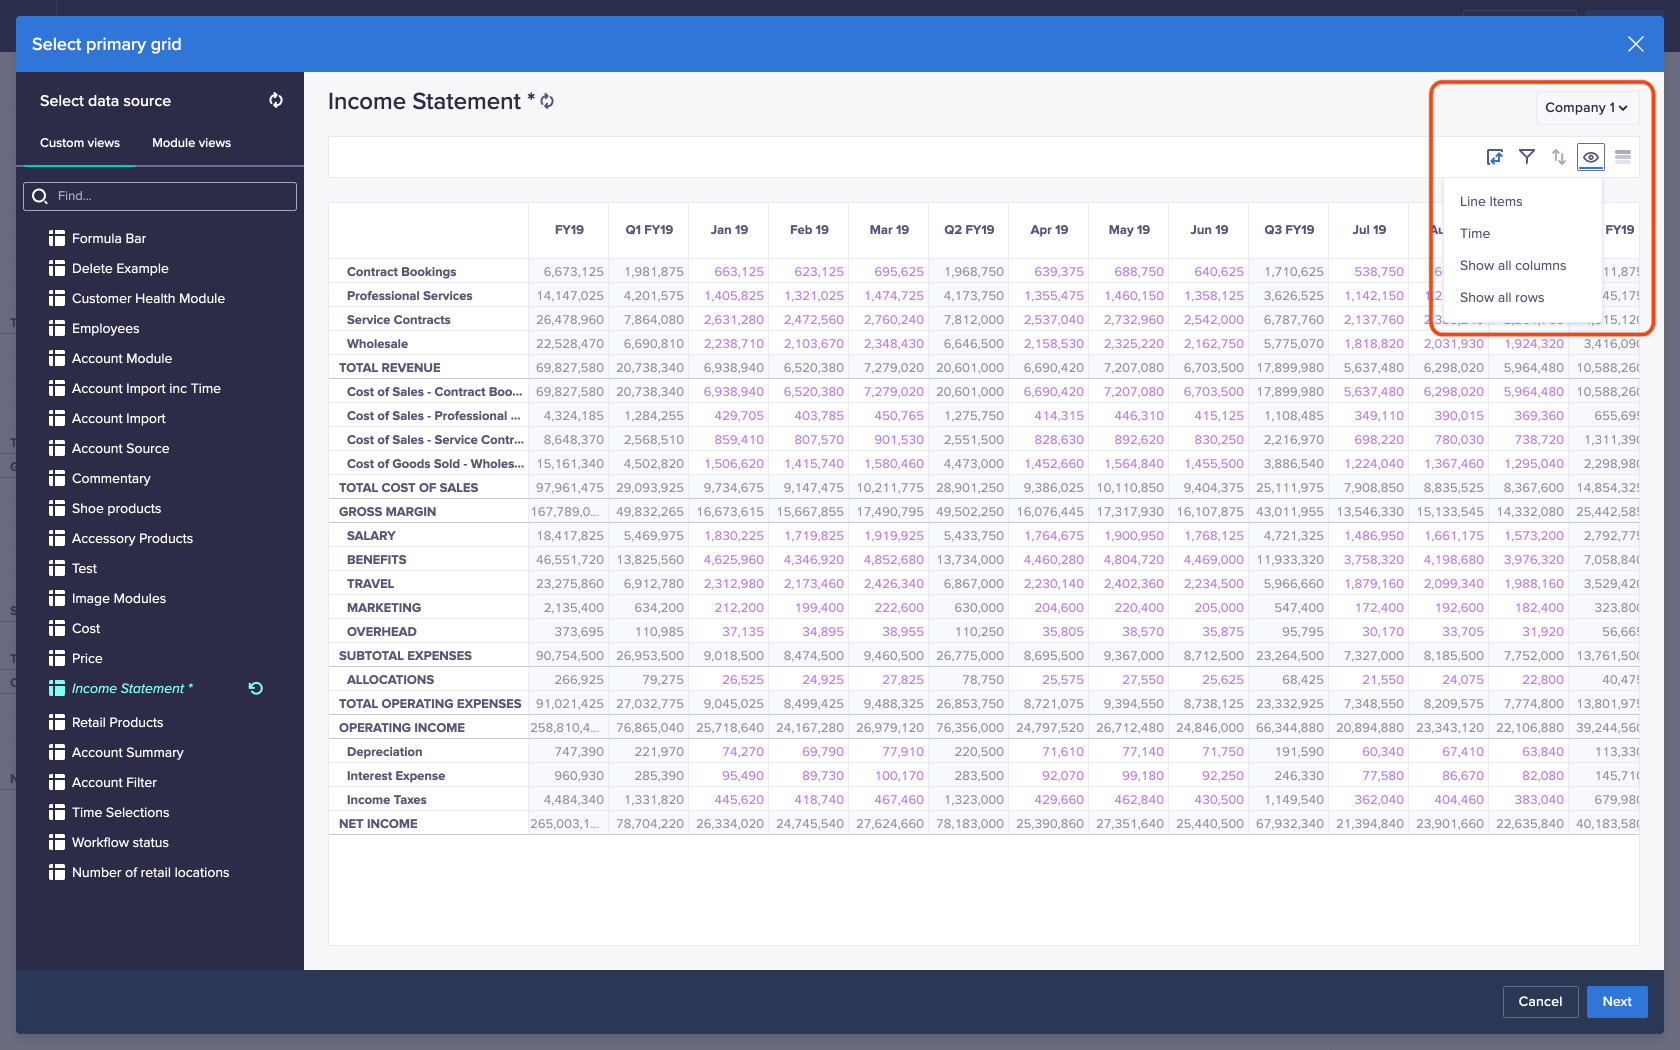
- On the toolbar, select Show / Hide , then choose the dimension you'd like to edit.
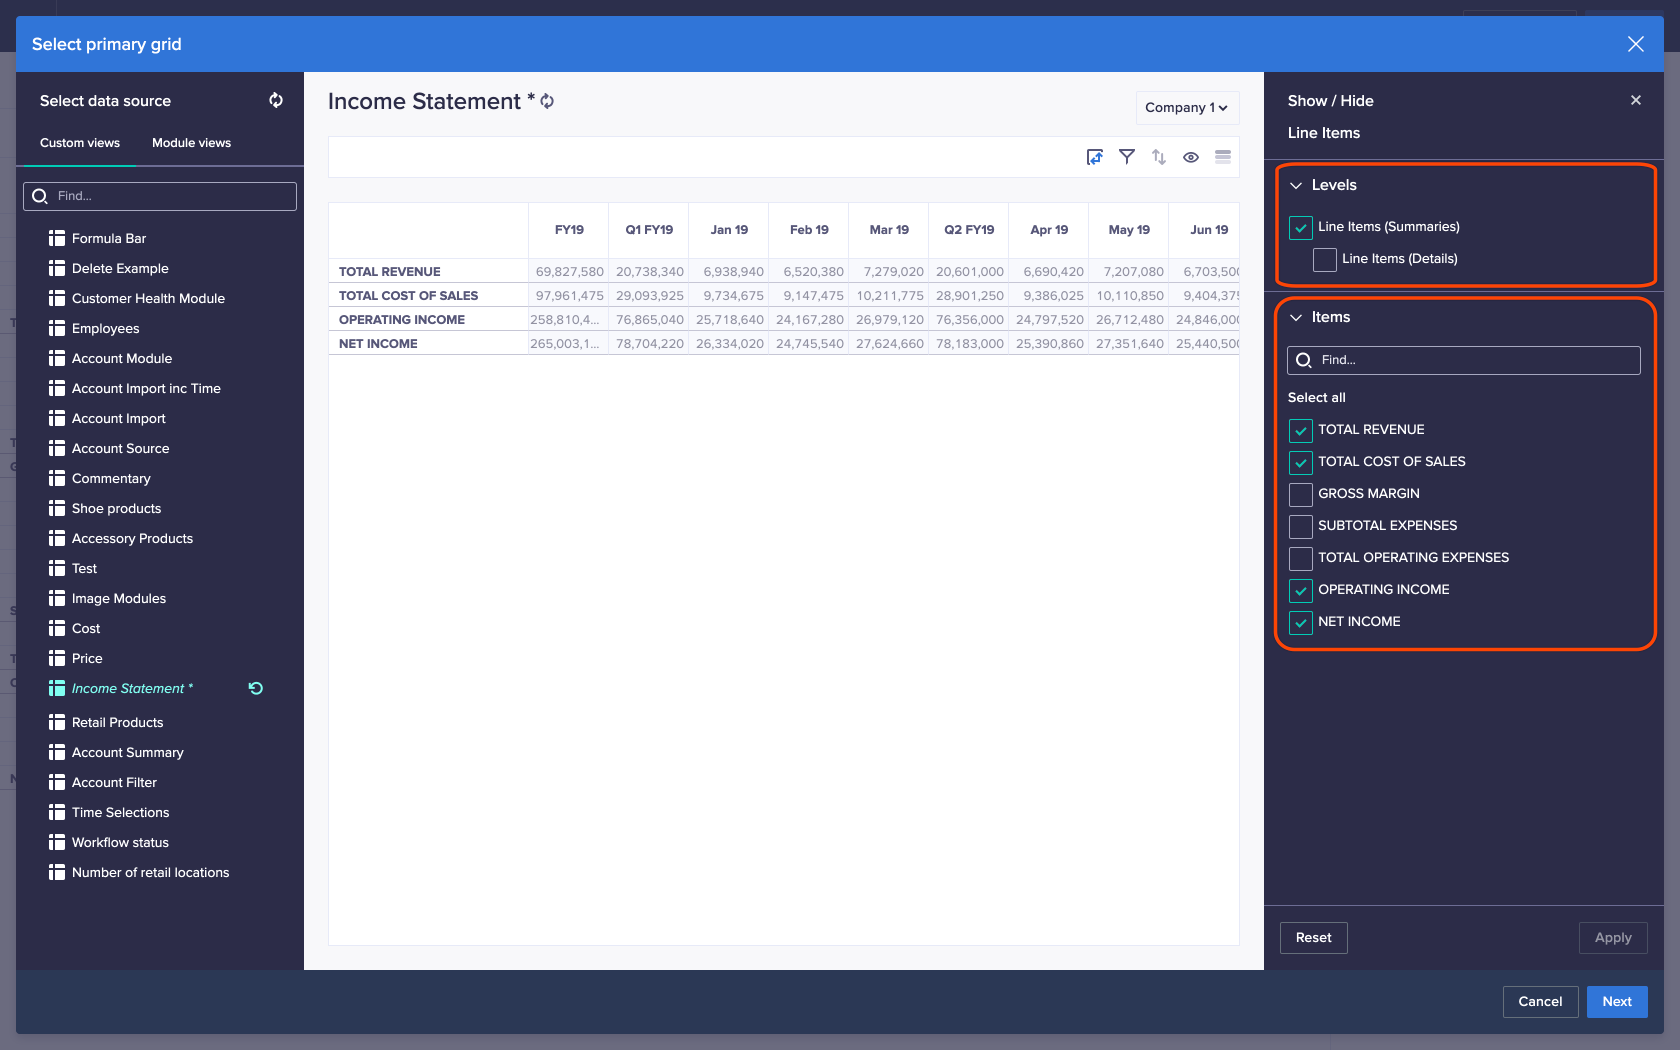
- If you chose Line items, on the Show / Hide panel:
- Select the Levels to display.
- Select the Items you want to show.
Enter text in the Find... box to filter items to show.
- Select Apply.
- Select Update.
- Select Save to save as a draft, or select Publish.
Show all items on a worksheet
To show all items on your worksheet, select Show / Hide , then select Show all columns or Show all rows.
If your worksheet shows a limited set of line items, select Show / Hide > Line items, then select Reset on the Show / Hide panel to show all items.

