If your preferred cloud data source is Amazon S3, see the steps below.
You should be familiar with Amazon S3 , and be able to work with S3 buckets for data storage.
To connect to Amazon S3:
- Select Connections from the menu.
- Select New connection from the top right corner.
The Connect to a service dialog displays.
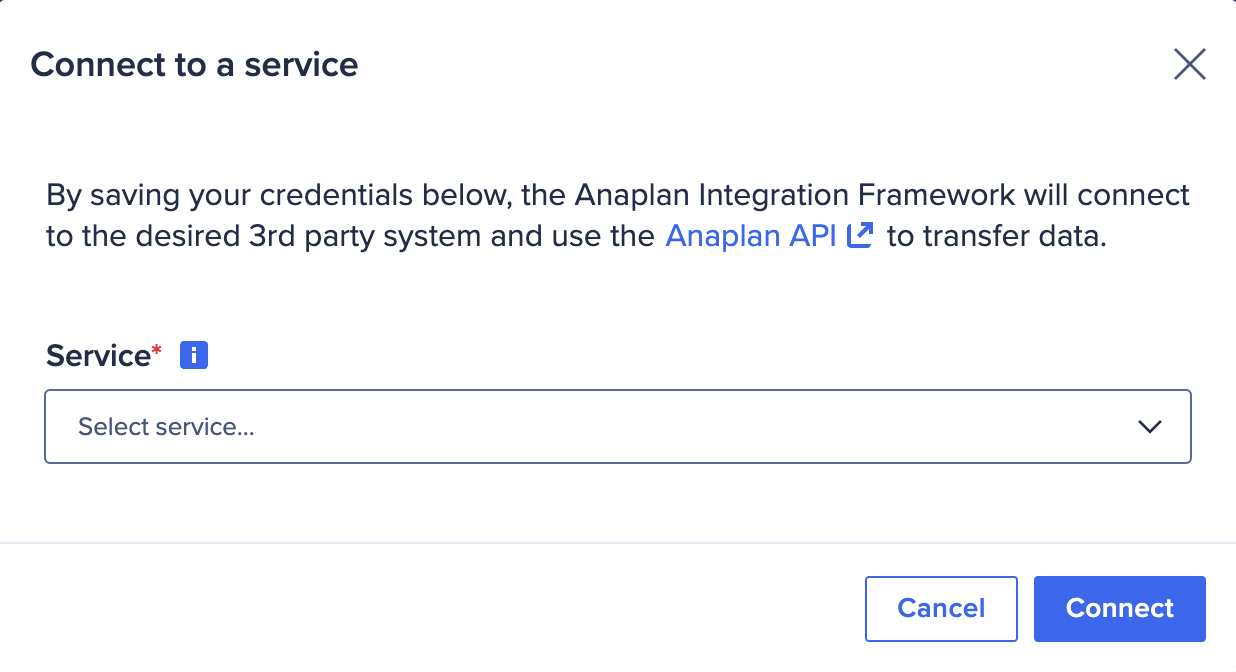
- Select Amazon S3 from the dropdown.
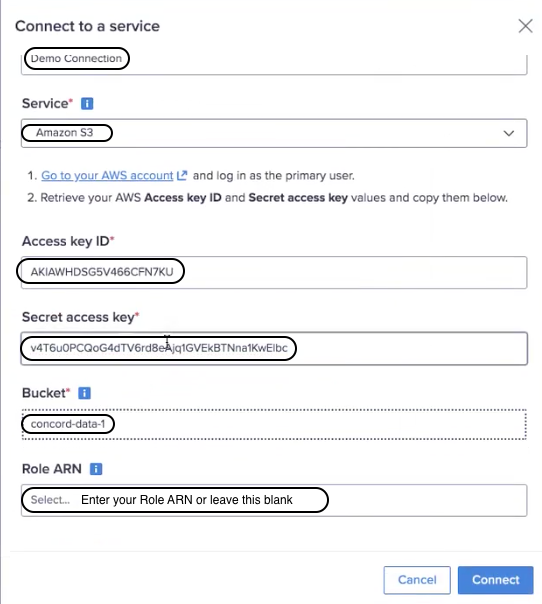
The dialog menu expands below. - Complete the dialog entries:
- Enter a new Connection name. Use a unique name that starts and ends with a letter or number. You can include spaces, hyphens (-), and underscores (_), but no other special characters. The limit is 60 characters.
- Retrieve your AWS Access key ID and Secret Access key values and enter them.
- Enter the AWS Bucket name.
- Enter Role ARN (optional).
- Select Connect to save the settings for this connection.
Set your AWS S3 bucket
Set your AWS S3 bucket properties to be able to create a new connection.
You should be familiar with the AWS Management Console. You must create an AWS S3 bucket before you can create a new connection.
Bucket reminders:
- Once you create your bucket you cannot change its name.
- Remember the bucket name must be DNS-compliant.
- Select the AWS Region where you want the bucket to reside.
- Select the Block Public Access settings that you want to apply to the bucket.
- Create your bucket policy.
- Set your bucket permissions.
Set your bucket permissions
Use the Amazon S3 console to manage access permissions for buckets, via access control lists.
Set your bucket permissions to set your policies. An example of policy checkbox selections is below:
| Access Level | Policy 1 | Policy 2 | Policy 3 |
| List (3) | HeadBucket | ListAllMyBuckets | ListBucket |
| Read (3) | GetBucketAcl | GetObject | GetObjectAcl |
| Tagging (8) | DeleteJobTagging | DeleteObjectTagging | DeleteObjectVersionTagging |
| -- | PutBucketTagging | PutJobTagging | GetObjectTagging |
| -- | PutObjectTagging | PutObjectVersionTagging | ReplicateTags |
| Write (2) | Delete Object | PutObject | -- |
| Permissions (2) | PutBucketAcl | PutObjectAcl | -- |
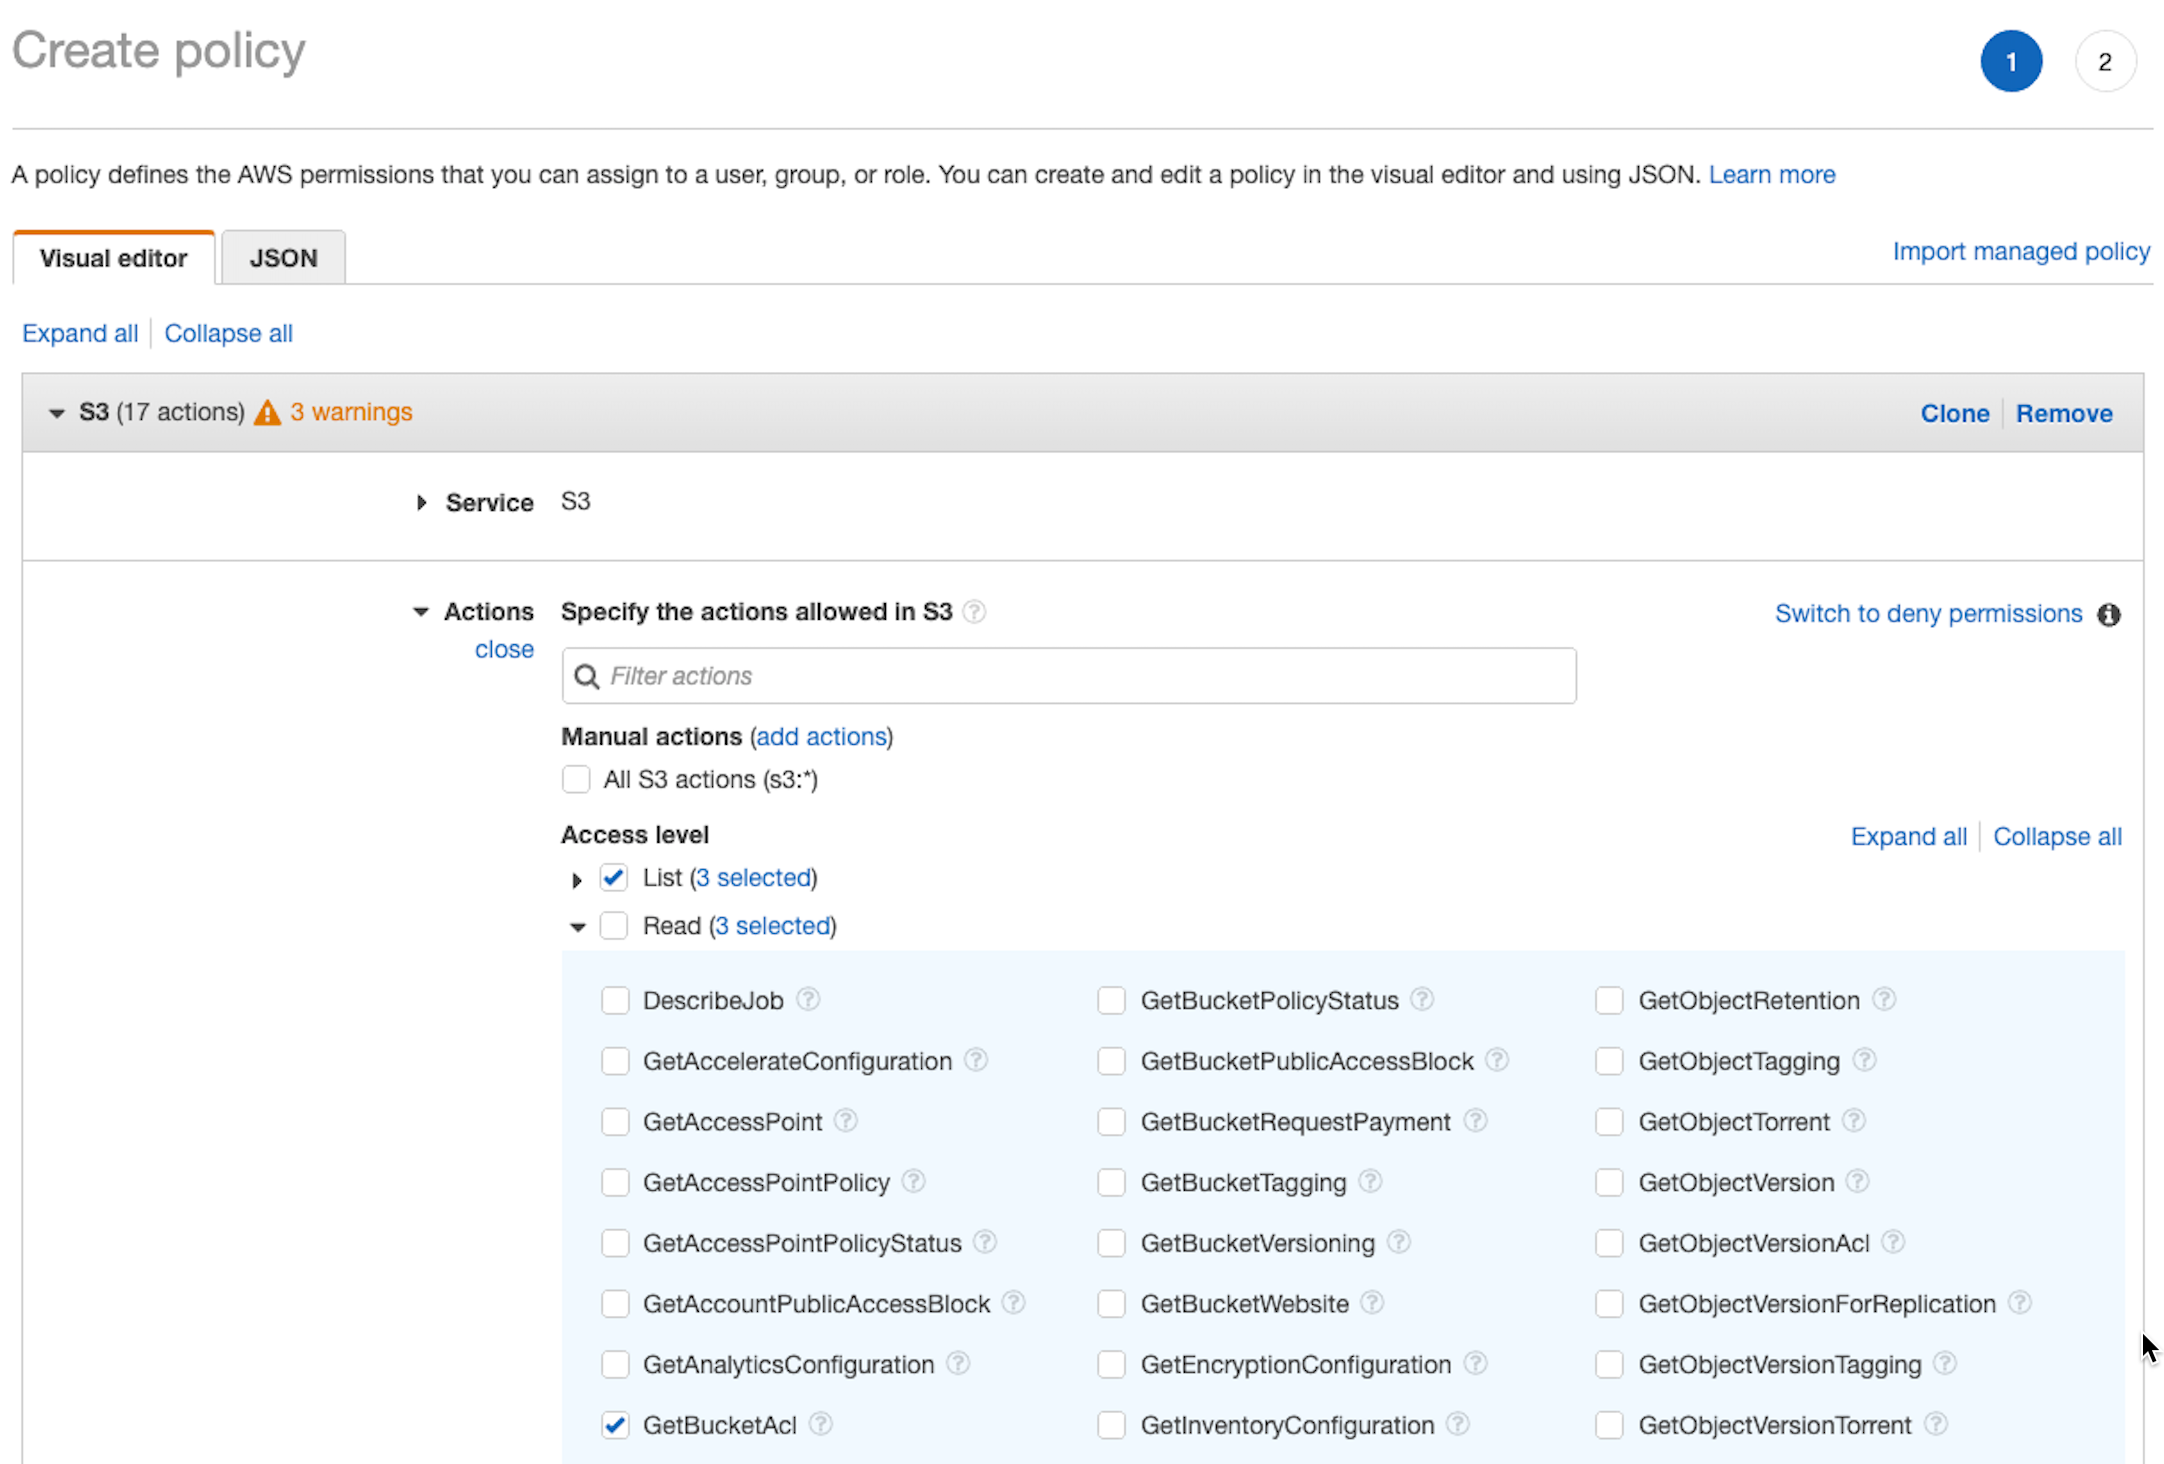
When you have made the policy selections, choose Review Policy.
Set bucket for a specific IAM role
You can restrict bucket access by setting it to a specific IAM role.
- Create a new IAM user, if required.
The IAM user can also be from a service account. - Create an IAM Role if you don't already have one.
- Associate the IAM user with IAM Role.
- Create the bucket policy. The policy sets read/write access at the S3 bucket level.
- Associate the IAM Role with bucket policy.
This corresponds to the Role ARN step in Edit a connection. - Generate keys for the IAM user, not the root level. You need both an access key ID and a secret access key.
- As shown in the screenshot below, enter the:
- Access key ID
- Secret access key and
- Role ARN for the IAM user when you create a new connection.