A process is a series of actions. Use process actions in your worksheets to enable end users to run a sequence of import and export actions.
Your process actions must be configured in the source module by a workspace administrator before being added to a page.
A process action stops if one of the import or export actions within it fails. This prevents any unintended loss of data that could occur if other actions run after an import failure.
Add a process action to a worksheet toolbar
To add a process action to the toolbar of the worksheet you're building:
- Open your worksheet in designer mode.
- Click Edit toolbar actions.
- Select Processes.
The process actions displayed are defined in the source module.
Type part of the name of an action into the Find... field to narrow down the list of processes.
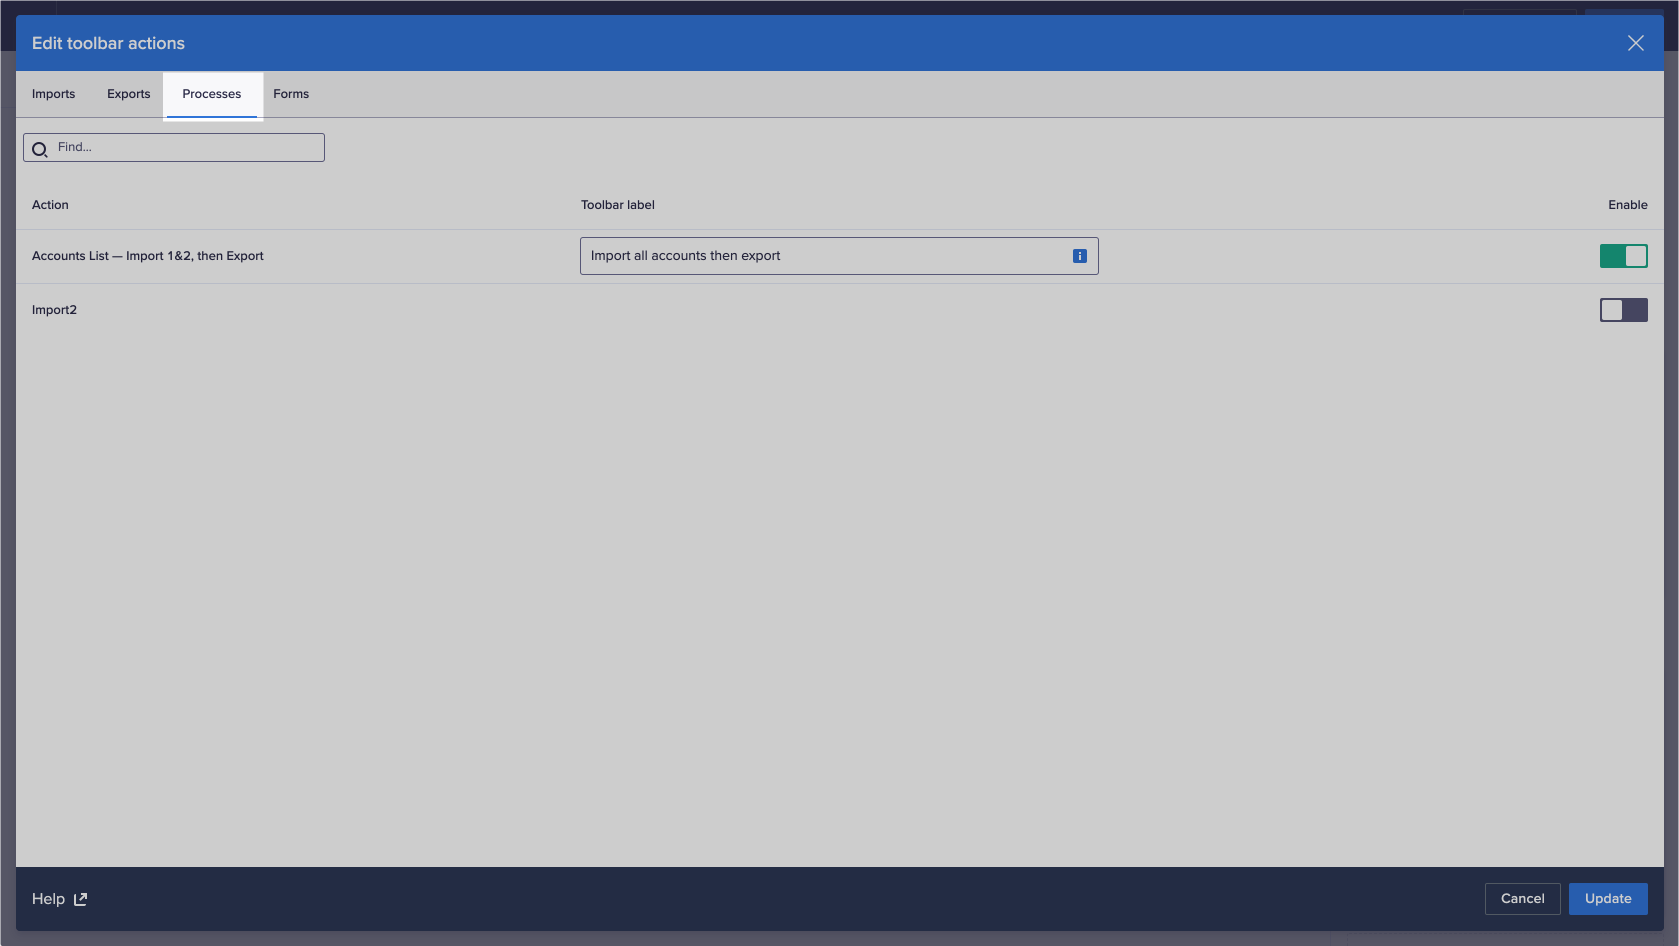
- In the Enable column, move the toggle to the right to add an action to a worksheet's toolbar.
Move the toggle to the left to remove an action from a worksheet's toolbar. - Optionally, type into the field under Toolbar label to change the label for an enabled process action. The default label is the name defined for an action in the source model.
Use an easy-to-understand label to ensure that end users know what the process action is for.
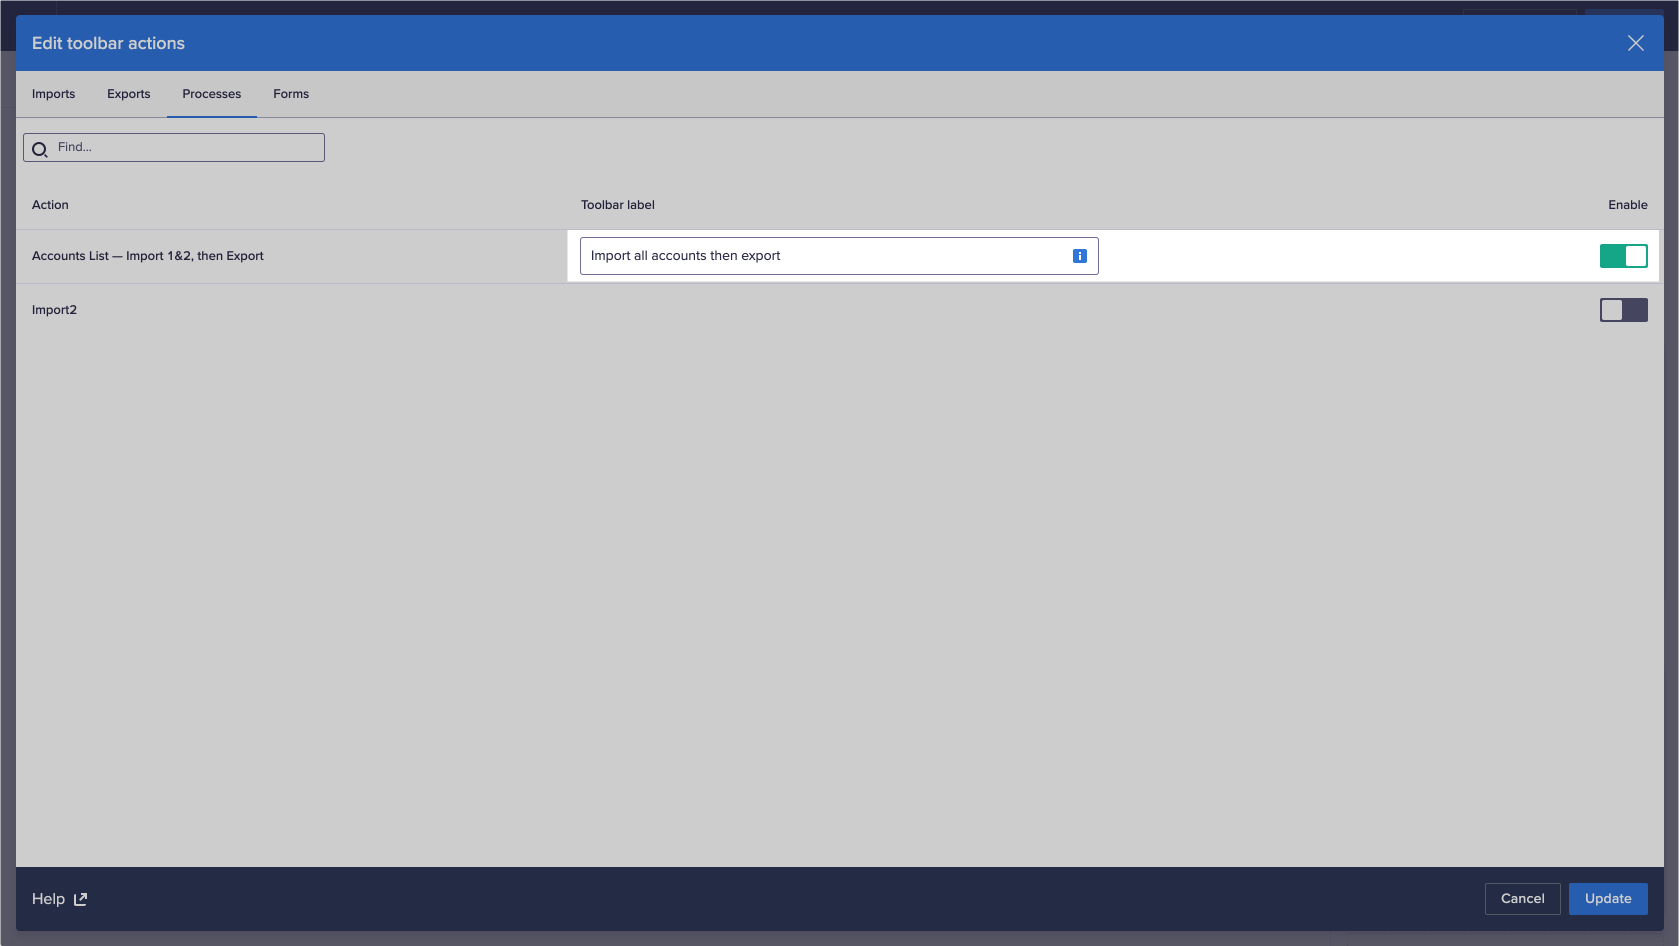
- Click Update.
You can continue to design or edit the worksheet. - Click Publish when you have finished designing or editing the worksheet.

