Import actions enable you to easily import large amounts of data into your apps. This helps users to automate their manual data entry.
Before you can add import actions to a page, they must be configured in the source model by a workspace administrator.
Configure imports on the worksheet toolbar to enable users to update modules and pages with the latest data for planning activities. You can also add import actions to an action card on a board or worksheet.
Imports files are typically tab-separated or comma-separated (.csv), but you can specify a different separator, such as a semicolon (;) or a pipe (|).
Note: Import actions in the user experience behave differently from the modeling experience. In the user experience, the import:
- Is always private.
- Data source doesn't save to the model. This means that every time you run an import, you will be asked to choose a file and upload it again.
- Doesn't replace or alter any imports set up in the model.
To add an import action to the toolbar of a worksheet:
- Open the worksheet in designer mode.
- Select Configure worksheet actions.
- In the Actions tab of the Configure worksheet actions panel, expand Imports to display import actions from the module.
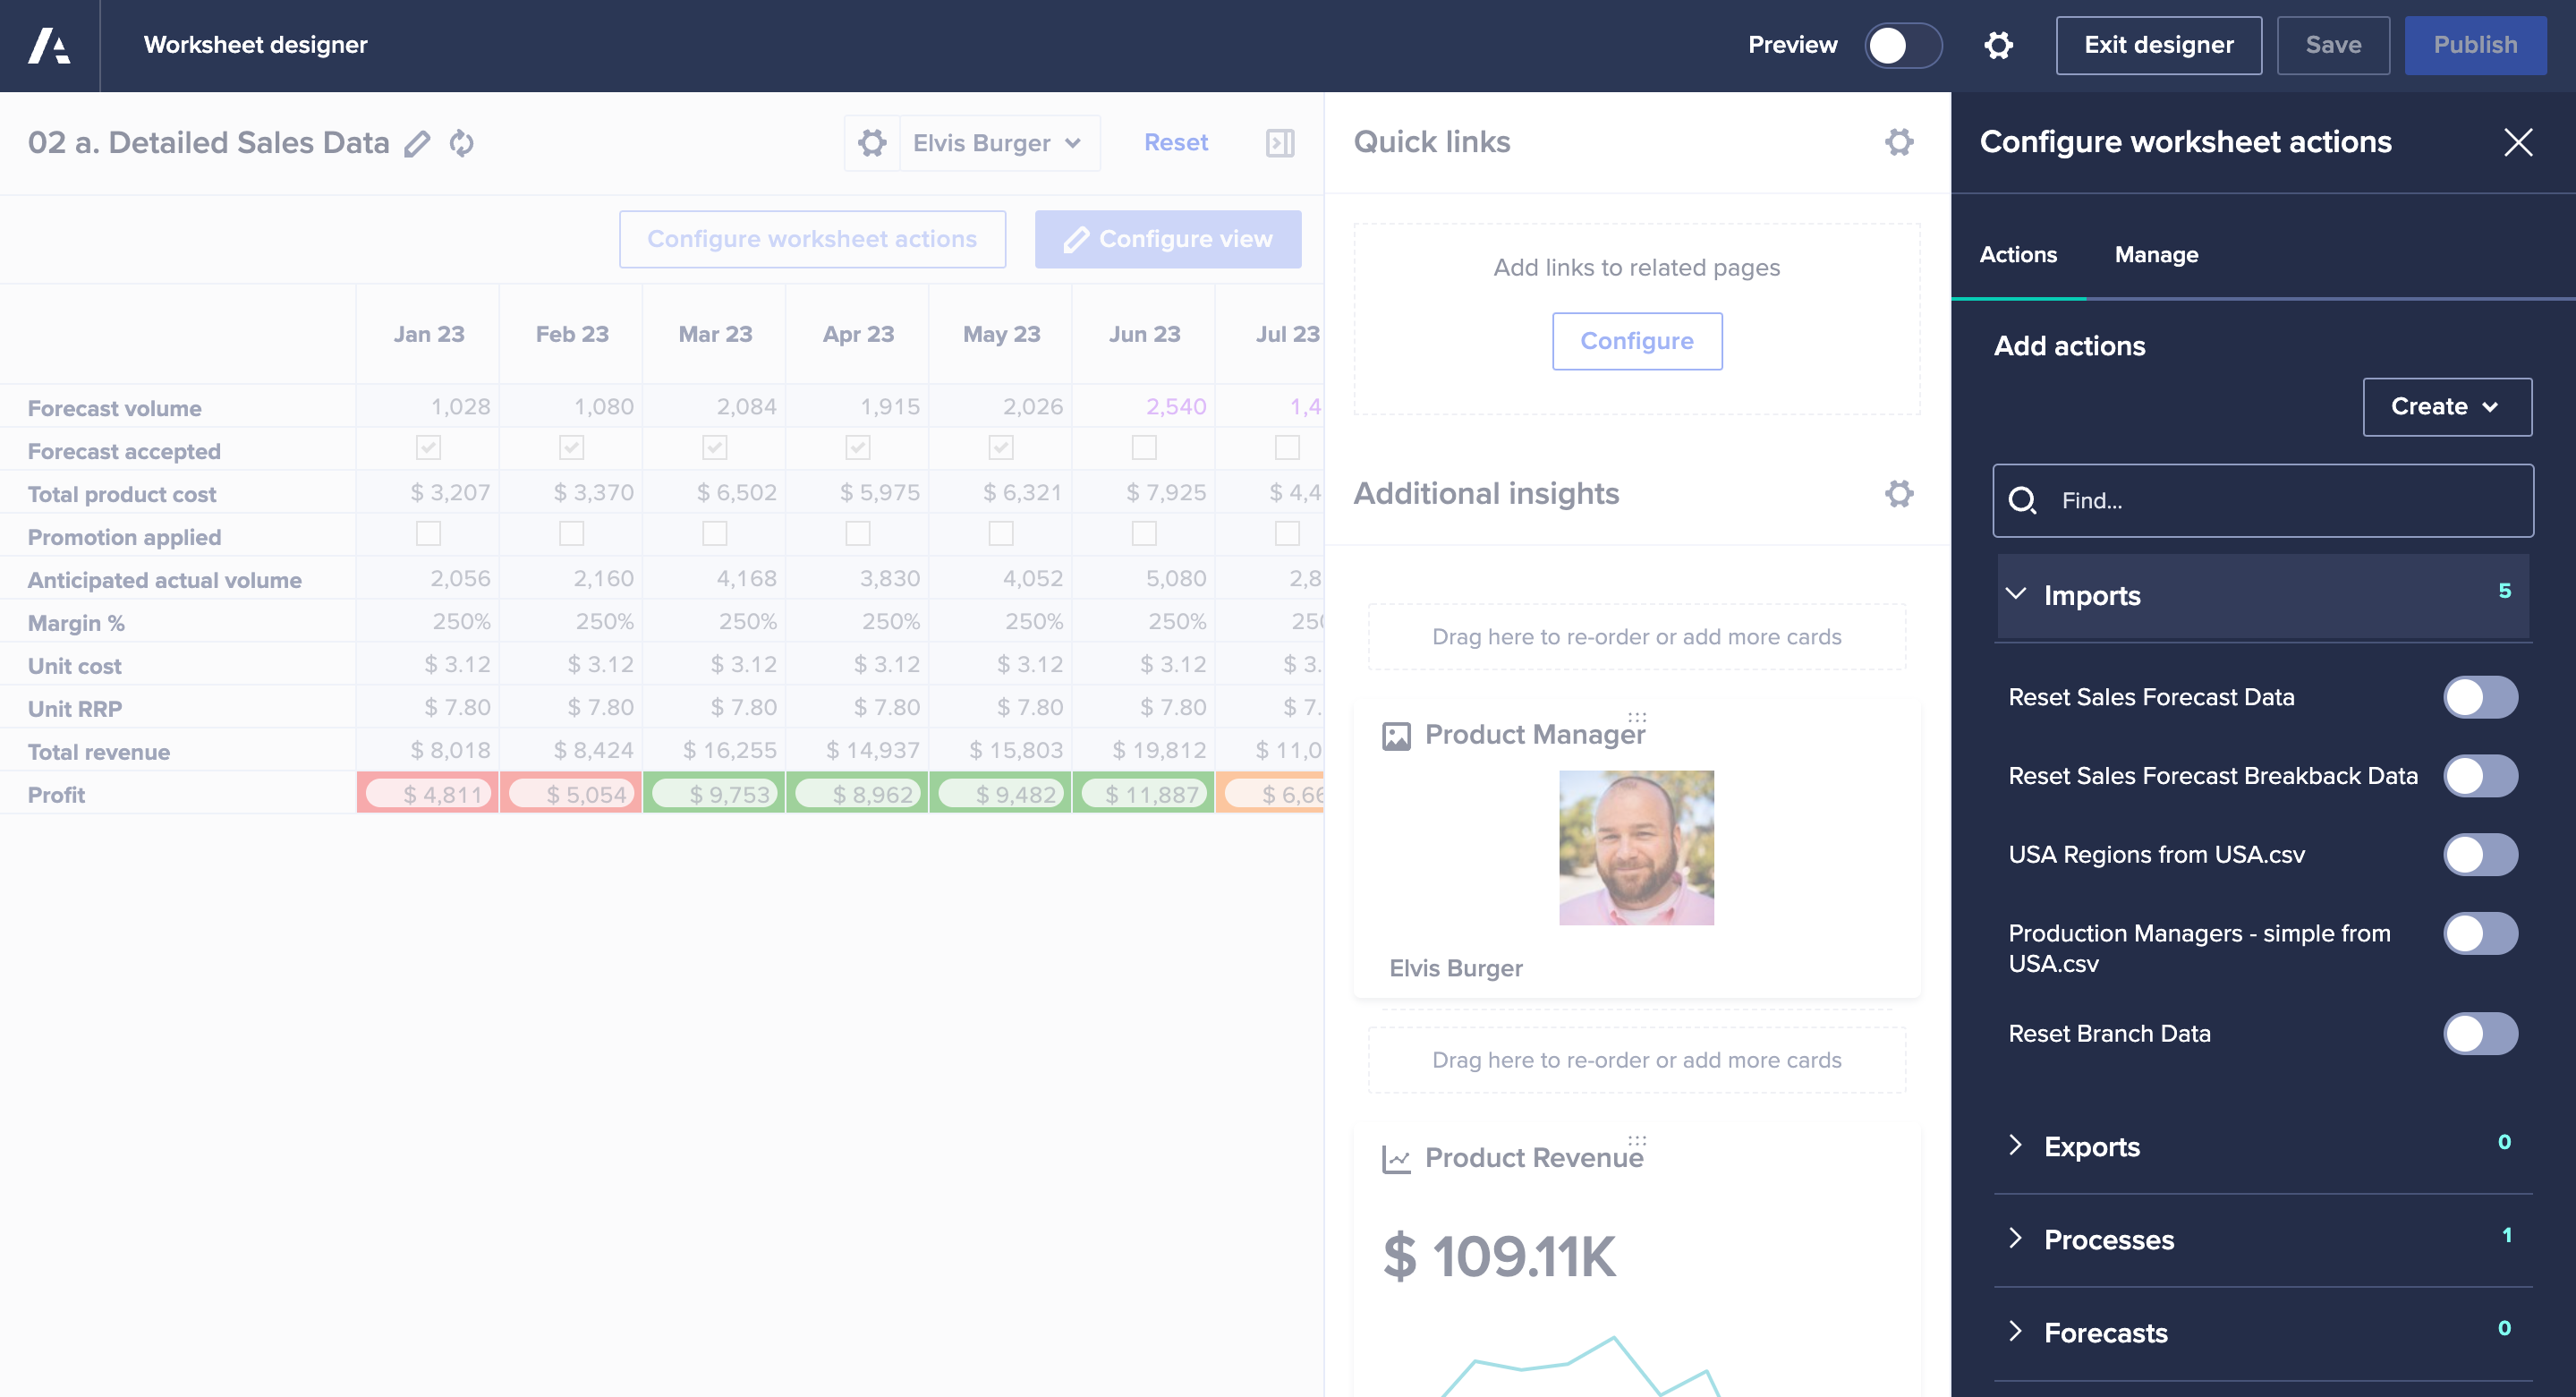
- Toggle right to add an action to the worksheet toolbar, or toggle left to remove it from the worksheet toolbar.
- Select Update.
- When you're ready, select Publish.
Users can then import data from spreadsheets, databases, or other accounting and reporting systems.

