The primary grid on a worksheet should contain the data that is most relevant to your users' needs. You can create a primary grid using a custom view of the data in a module.
The option Users can edit list items is not available on personal pages.
To edit cards, select Edit to open your page in designer mode.
Select Save to save as a draft, or Publish to publish the page.
Select the source module
- Select Configure grid on a new worksheet, or Configure view on an existing worksheet.
- On the Custom views tab of the Select data source panel, choose a module.
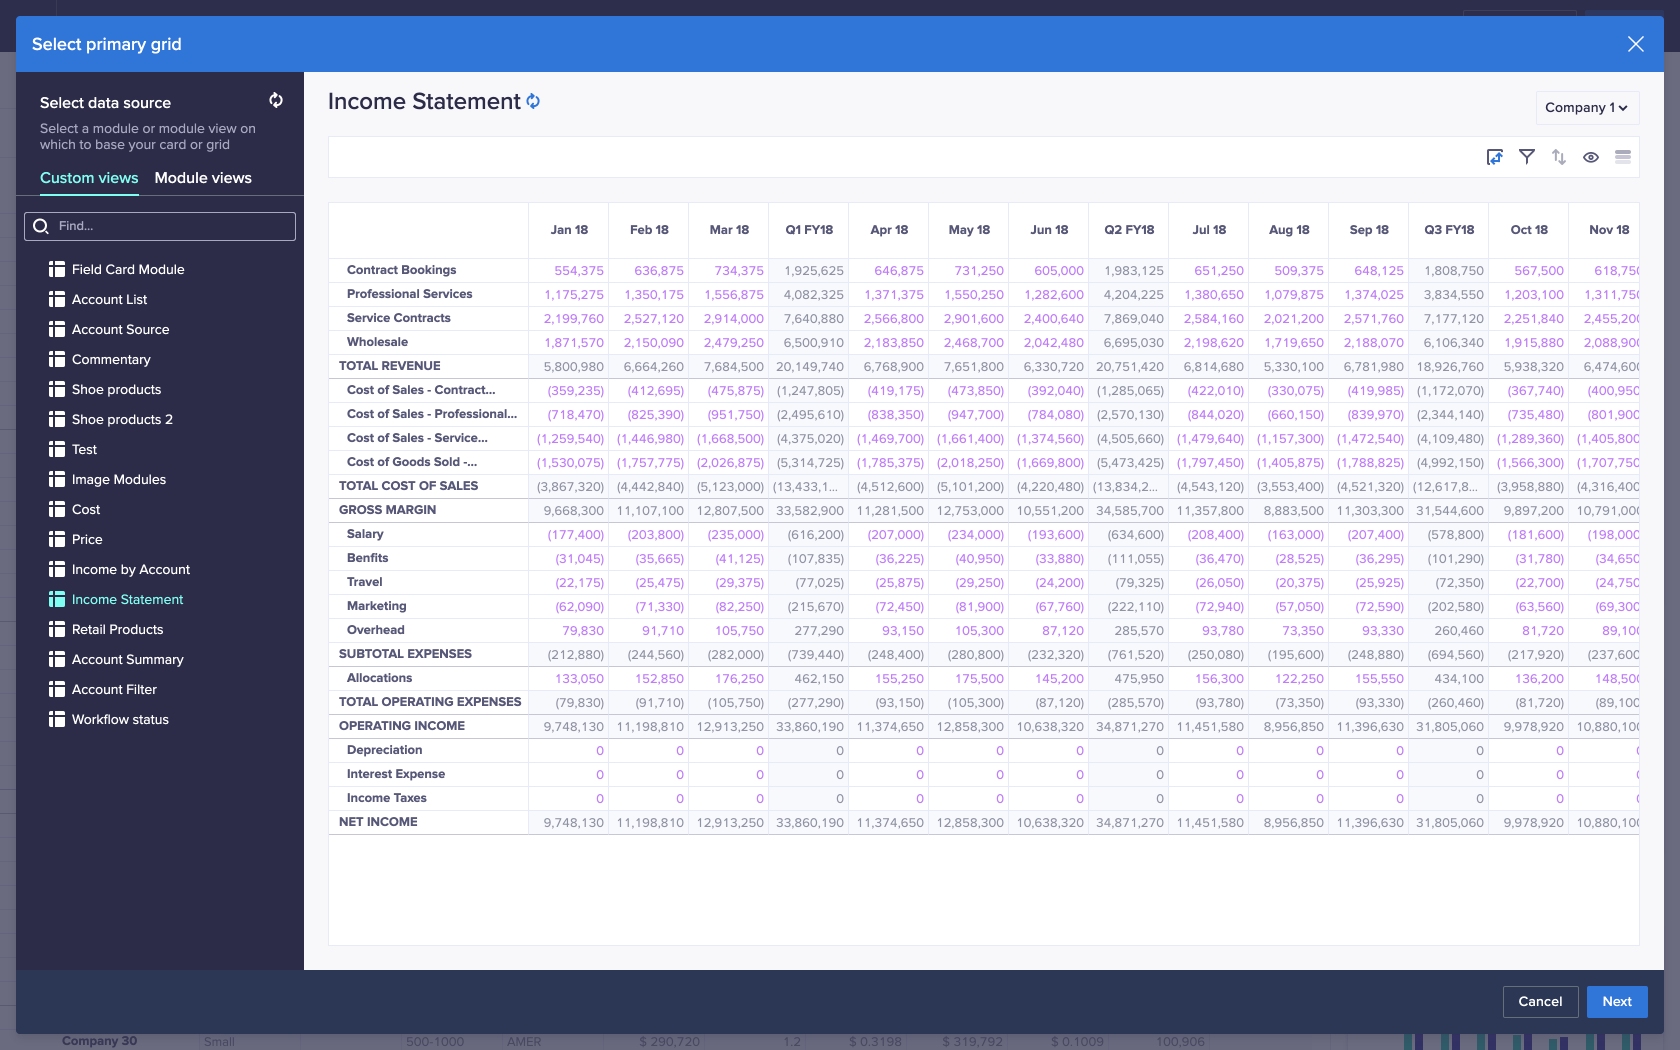
- To modify your custom view, on the toolbar, you can select:
- Pivot to change the dimensions applied to Rows, Columns, and Context selectors.
- Filter to change the values that display for line items in your grid, based on criteria you determine.
- Sort to arrange your data in ascending or descending order.
- Show / Hide to choose which dimension items you want to display.
- Totals Position to change where totals display on the grid.
- Conditional Formatting to apply formatting to cells in your grid based on specified criteria.
- Reorder to change the order of items on a grid.
- Select Update.
- On the Grid tab of the Card configuration panel, you can:
- Toggle Users can edit list items right so your users can maintain list items.
- Toggle Users can enter and edit cell data right so your users can edit data in grid cells.
Users can enter and edit cell data is enabled by default. - Toggle Users can pivot data right so your users can pivot the worksheet.
Users can pivot data is enabled by default. - Choose a Row height value.
Standard, the default height, is one line high. Medium is two lines high, Large is four lines, and Extra large is eight lines. - Select Reset columns to reset the column width to default.
- Toggle Rows or Columns right to enable hierarchy filters.
- Select one or more line items under Line item image settings to display their values as images on the worksheet. Images display once you publish your page.
The Line item image settings section only displays if your view contains valid link-formatted line items.
You can display.jpg,.jpeg,.gif, or.pngfiles as images on a grid card. Learn how to store image URLs.

