Use forecast actions in your pages to enable end users to carry out forecasting.
This enables you to forecast outcomes on your page to help your business planning processes. See Forecaster for more information.
To use forecast actions, a workspace administrator must first create actions for any of the models in your page. Then, add the forecast actions to the page. Forecast actions are added as buttons, which users press to trigger the action.
You can add as many forecast actions to a page as required.
To learn how to add an action card to a board or worksheet, see how to configure an action card.
Add a forecast action card to a board
- Create a new board or open an existing board in designer mode.
- Add an Action card to your page.
Learn how to add a card to a board. - With the action card positioned, select Configure action.
The Card configuration panel appears. - In the Actions tab, under Add actions, select the right arrow to expand the Forecasts option.
The list expands to display all forecast actions available to you.
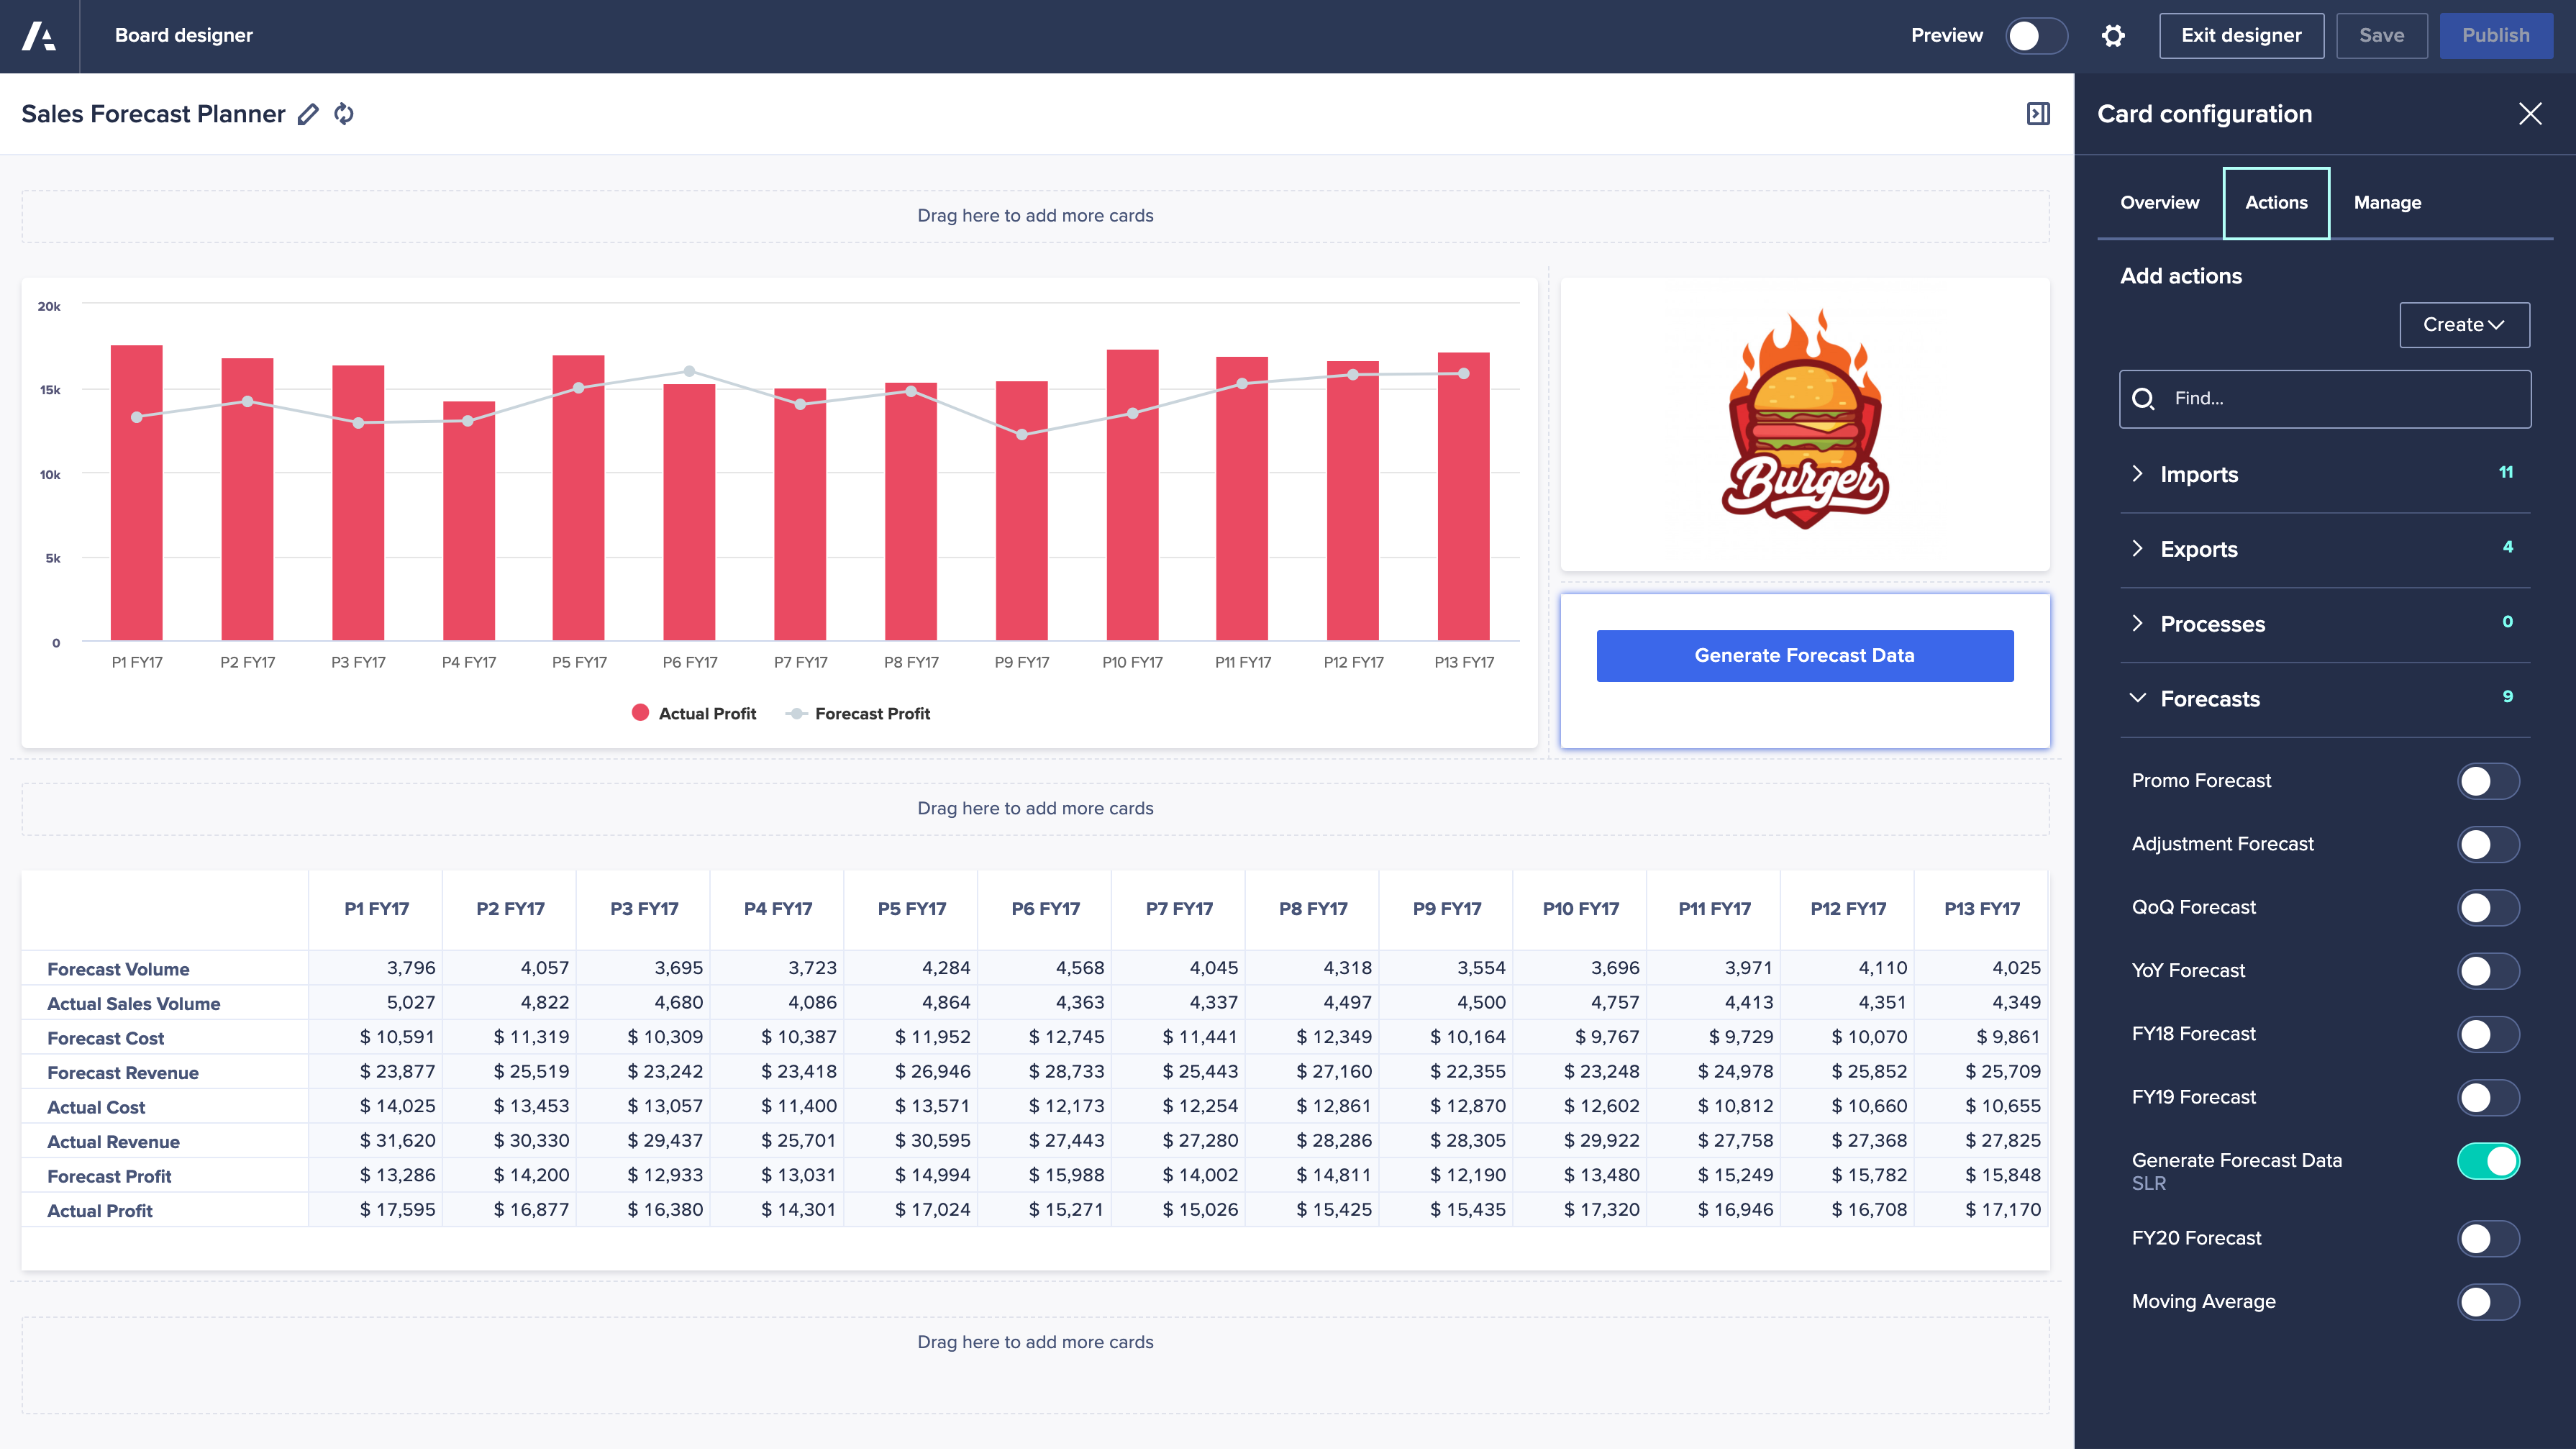
- The number on the right of the Forecasts label indicates the number of forecast actions that are available. If this number is zero, then the underlying model contains no forecast actions.
Action cards act as placeholders for as many actions as you need. These can also be actions of all types. - With the expanded list of forecast actions, toggle right on the one you want to assign to this card.
The label of the forecast action now appears in the card, on your designer.
Optionally, on the Manage tab, select the ellipsis next to the selected action. Here you can Edit action label or you can Remove action.- If you Edit action label, you're prompted for a new label. Enter the new label and select Save.
Note: This will update the name of the forecast action button on your page only. - If you select Remove action, this immediately removes the action button from the action card.
- If you Edit action label, you're prompted for a new label. Enter the new label and select Save.
- Select Publish.
The action displays on the published page.
Add a forecast action to a card on a board
All boards support forecast actions at the card level. All card types support forecast actions as More actions. To add a forecast action to any card type on a board:
- Create a new board or open an existing one in designer mode.
- Add any card to your board.
Learn how to add a card to a board.
Optionally, if your board already contains a card, skip to the next step. - On the top right-hand corner of your card, select More actions .
- From the context menu, select Configure actions.
The Card configuration panel appears. - In the Actions tab, under Add actions, select the right arrow to expand the Forecasts option.
The list expands to display all forecast actions available to you. - The number on the right of the Forecasts label indicates the number of forecast actions available. Please note that if this number is zero, then the underlying model contains no forecast actions. Contact your workspace administrator if you need a forecast action for your page.
Note that the action cards act as placeholders for as many actions as you need. These can also be actions of all types. - With the expanded list of forecast actions, toggle right on the one you want to assign to this card.
The label of the forecast action now appears in the card, on your designer.
Optionally, on the Manage tab, select the ellipsis next to the selected action. Here you can Edit action label or you can Remove action.- If you Edit action label, you're prompted for a new label. Enter the new label and select Save. Note that this will update the name of the forecast action button on your page only.
- If you Remove action, this immediately removes the action button from the action card.
- Select Publish.
The action displays in More actions in the card, on the published page.
Add a forecast action to a worksheet
- Create a new worksheet or open an existing worksheet in designer mode.
- Select Configure grid.
The Select primary grid screen displays. - Select a view, which contains your grid data. Then press Next, then Update.
The grid data displays on your worksheet.
Add a forecast button as an action button on your grid
To add a forecast button as an action on your grid:
- Select Configure worksheet actions.
The Configure worksheet actions panel appears on the right-hand side. - In the Actions tab, under Add actions, select the right arrow to expand the Forecasts option.
The list expands to display all forecast actions available to you. - The number on the right of the Forecasts label indicates the number of forecast actions that are available. Please note that if this number is zero, then the underlying model contains no forecast actions. Contact your workspace administrator if you need a forecast action for your page.
Note that the action cards act as placeholders for as many actions as you need. These can also be actions of all types. - With the expanded list of forecast actions, toggle right on the one you want to assign to this card.
The label of the forecast action now appears in the card, on your designer.
Optionally, on the Manage tab, select the ellipsis next to the selected action. Here you can Edit action label or you can Remove action.- If you Edit action label, you're prompted for a new label. Enter the new label and select Save. Note that this will update the name of the forecast action button on your page only.
- If you Remove action, this immediately removes the action button from the action card.
- Select Publish.
The forecast action icon displays on the top-right corner of the grid.
Add a forecast to an action card in Additional insights
An action card may contain a forecast action button. To add this to your Additional insights:
- Add an Additional insights card to your worksheet.
Learn how to add a card to a worksheet. - With the action card positioned, select Configure action.
The Card configuration panel appears. - In the Card configuration panel select the Actions tab
- In the Actions tab, under Add actions, select the right arrow to expand the Forecasts option.
The list expands to display all forecast actions available to you. - The number on the right of the Forecasts label indicates the number of forecast actions that are available. Please note that if this number is zero, then the underlying model contains no forecast actions. Contact your workspace administrator if you need a forecast action for your page.
Note that the action cards act as placeholders for as many actions as you need. These can also be actions of all types. - With the expanded list of forecast actions, toggle right on the one you want to assign to this card.
The label of the forecast action now appears in the card, on your designer.
Optionally, on the Manage tab, select the ellipsis next to the selected action. Here you can Edit action label or you can Remove action.- If you Edit action label, you're prompted for a new label. Enter the new label and select Save. Note that this will update the name of the forecast action button on your page only.
- If you Remove action, this immediately removes the action button from the action card.
- Select Publish.
The action displays as an Additional Insight action card on the published worksheet.
Add a forecast to all other card types in Additional insights
A chart that's been added as an additional insight to your worksheet, may contain a forecast action. To add a forecast action to a chart card:
- Add or edit a card in your Additional insights.
Learn how to add a card to your additional insights.
Optionally, if this is a new card, configure the card according to your business needs and publish it.
Learn how to configure a card on a worksheet. - In designer mode, on the top right-hand corner of your card, select More actions .
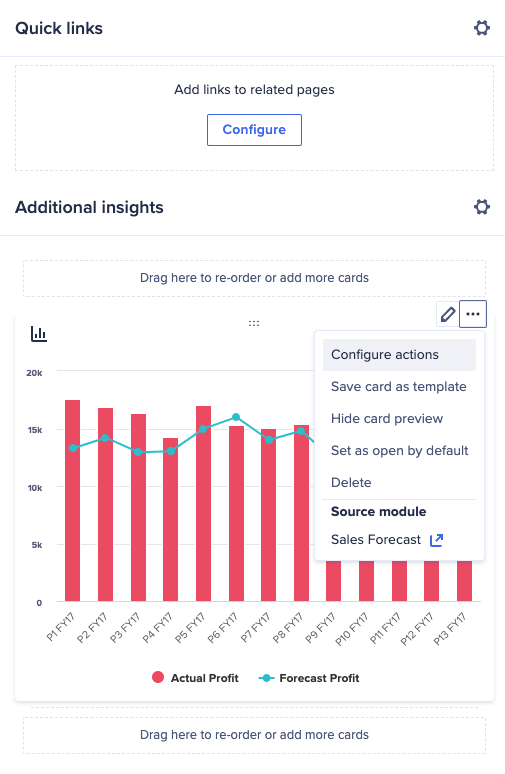
- From the context menu, select Configure actions.
The Card configuration panel appears. - In the Actions tab, under Add actions, select the right arrow to expand the Forecasts option.
The list expands to display all forecast actions available to you. - The number on the right of the Forecasts label indicates the number of forecast actions that are available. Please note that if this number is zero, then the underlying model contains no forecast actions. Contact your workspace administrator if you need a forecast action for your page.
Note that the action cards act as placeholders for as many actions as you need. These can also be actions of all types. - With the expanded list of forecast actions, toggle right on the one you want to assign to this card.
The label of the forecast action now appears in the card, on your designer.
Optionally, on the Manage tab, select the ellipsis next to the selected action. Here you can Edit action label or you can Remove action.- If you Edit action label, you're prompted for a new label. Enter the new label and select Save. Note that this will update the name of the forecast action button on your page only.
- If you Remove action, this immediately removes the action button from the action card.
- Select Publish.
The action displays in More actions on the published page.
Note: If after adding a forecast action to a card the Forecast upon which it is based is deleted, the action will cease to function. A page builder can remove the action. To do this:
- Enter the page in designer mode.
- Select the action card.
- In the Manage tab select the ellipsis .
- Select Remove action.

